How To Condition Straw Bales For Planting Vegetables
When it comes to choosing the best micro-gardening technique for growing your home-grown vegetables, Straw bales comes high in the list. They are cheap to buy (depending on your location it’s true) easy to assemble and situate. very little if any weeding, and less back-ache – to name just a few advantages!

However in order to be successful in your growing efforts – the bale MUST be properly primed or ‘conditioned’ in order to begin the decomposition process needed to produce the needed nutrients.
A straw bale is basically a heap of carbon material that has little or nothing in the way of nutrients for growing – until you prime the bale and get the process started.
Here below is the priming process edited from my book on the subject ‘Straw Bale Gardening ‘
‘
If you would like to know more about this fascinating way to grow vegetables and – get your friends talking! – then please feel free to check it out!
Once you have identified your location the bale has to be properly set-up and primed in order to receive your plants. It is not (unfortunately) a simple matter of dumping the bale on the ground and shoving in your vegetables, then sitting back to behold the results!
Choosing Your Straw Bale Garden Location
The first thing to consider is the ground itself. If it is covered in weeds or grass, then you should lay down a weed-membrane either fabric or – better in my mind – a couple of layers of cardboard.

The reason this is important is getting back to the previous chapter on controlling weeds. If you just dump the bale down on top of weeds or grass, then the chances are that some of the weeds will grow straight up through the bale over the season.
With regard to fabric or cardboard covering. Both will do the job of suppressing the weeds, however the cardboard has an added bonus in that it will slowly decompose and with the help of worms (who just happen to love cardboard and paper), will eventually be composted and integrated along with the bale itself.
A win-win situation really as you will have excellent material at the end of the growing season to add to your composting bin.
Another option is to turf the area where the bale is to sit down to 3-4 inches, and then sink the bale inside this area. This has the advantage in that depending on your water situation or local climate, the bale can draw water direct from the soil helping to prevent drying out.
Also the fact that the bale is in direct contact with the soil and all the beneficial worms and microbes, means that the composting effect is slightly accelerated overall.
Conditioning a Straw Bale
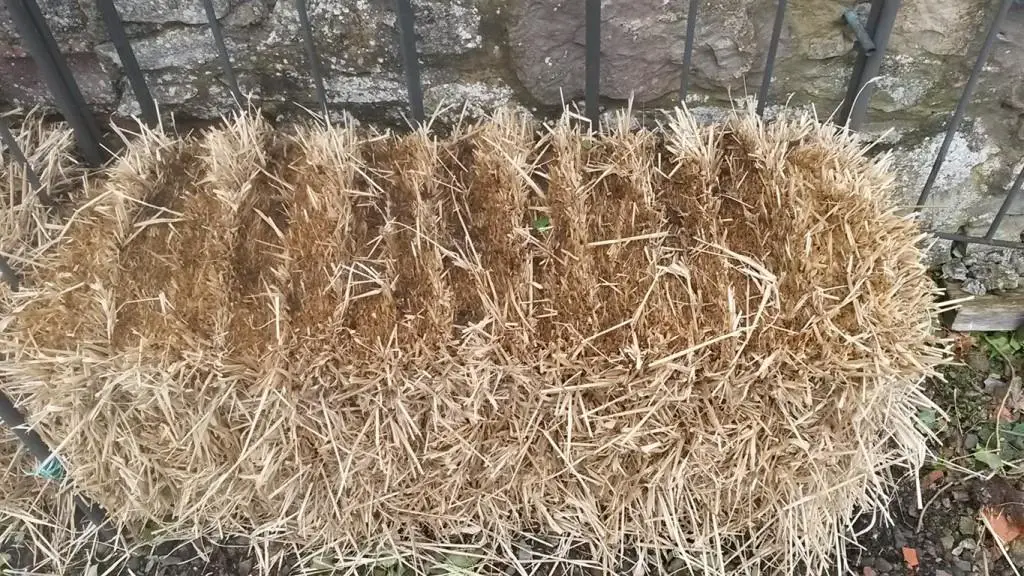
When placing the bale itself, it is important that it is arranged cut side up, or on edge. This enables the water to seep right to the inside of the bale and begin the ‘cooking’ process.
If you inspect the bales you will notice that one of the two cut sides consists of folded straw and the other is clean-cut straw? This clean-cut side is the one that faces upward.
This allows the water and fertilizer to run down to the inside of the bale and remain trapped. It is not a complete disaster if you get this wrong, but the bale will tend to dry out quicker as it will not hold the water as efficiently.
The 2 strings that hold the bale in place should be running along the sides. It is important that you leave these strings in place – for obvious reasons!
This ‘cooking’ is where the bale begins the process of decomposing and thereby producing heat in the inside of the bale, which in turn breaks down the straw and prepares it for your plants to benefit.
Once you have the bale in place then you must feed and water it to begin the process. Feeding is very important as the straw bale itself is mainly just carbon (hay differs as per the previous chapters), and your vegetables will need a good mixture of nitrogen and potash to develop fully.
This feeding can be achieved in several ways, although I would recommend that the intial feeding be done using a high nitrogen feed to get the process started. Thereafter organic feeds such as fish or blood feed, or home-brewed organic feeds.
The store bought nitrogen-rich feed should be spread over the bale at the beginning and watered in (more details follow). Thereafter added to the water itself is often best before the bale is soaked.
Organic home-brew is simple to make and apply. Preparation should be done a few days before you are ready for the bale.
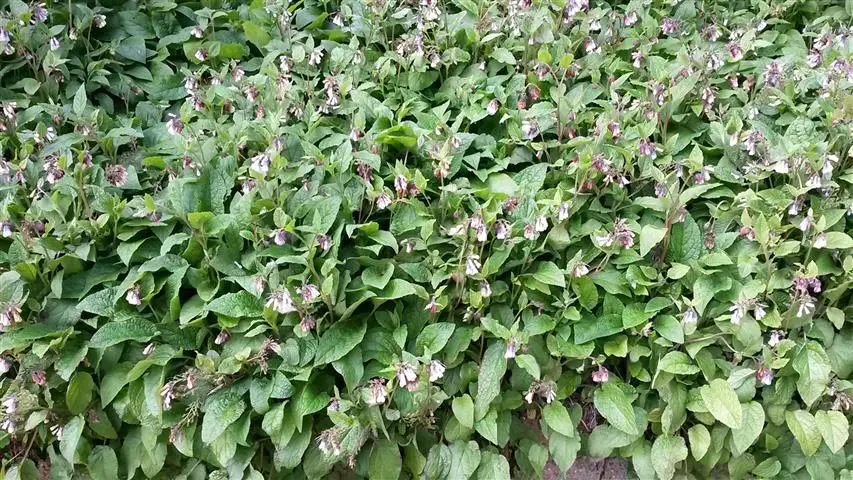
Add a few good handfuls of grass, stinging nettles, or borage which has been cut into pieces, to a pail of water. Weigh it down with a heavy stone or brick, then leave for 7 days to infuse.
The resulting liquid can be diluted at roughly 1 part feed to 10 parts water, then applied to the bale. The remaining liquid can be topped-up over the season with more plant material and water, and applied as necessary.
Compost feed can be produced by taking a few handfuls of compost and adding to water and left to infuse as previously described.
Manure feed is especially rich in nitrogen which your veggies will love, however it is the ‘stinky’ option! To make this tea place a shovel of manure (horse, sheep, rabbit chicken, or goat is ideal) into a hessian sack and put inside a deep pail of water for 5-7 days.
Squish the sack up and down a bit before removing from the pail (you can add it to the compost heap). The resulting tea should be watered down about 15 parts water to 1 part tea.
Be aware however that using fresh manure does carry an element of risk with regard to E.coli and other harmful bacteria and worm larvae that may be present.
With that in mind do take precautions when handling fresh manure, or alternatively ( and safer ) use well composted manure that has been composting for at least 1 year.
Also, do not use manure compost on any low-ground vegetables that may come into direct contact with it, such as cucumber or courgettes for instance.
Fish meal, bone meal and seaweed also are great sources of nitrogen, potassium and other nutrients that will benefit your vegetables.
Priming The Straw Bales
The actual process of priming your bale should be done in the following sequence..
Day 1: Soak the bale completely with water infused with high nitrogen feed, or prepare the bale by scattering fertilizer over it before soaking.
Day’s 2-5: Continue with the soaking and feeding process. Monitor the internal temperature with a thermometer ( a compost or meat temperature probe is ideal), and watch for the rise in temperature as the ‘cooking’ process begins.
Day’s 6-14: Water every alternate day, checking to see that the bale does not dry out. As the process of ‘cooking out’ comes to an end, the bale will cool down to reflect a temperature just a little higher or equivalent to, the ambient external temperature. **
This means that the bale is ready to plant. If the reading is still high then wait till it drops before attempting to plant, otherwise it will be too hot for the roots and the plant will likely suffer a premature death!
Continue to feed the bale periodically over the growing period with an organic ‘tea’ for best results.
** I should add here that the bales do not always heat to a discernable degree – especially within cold Northern European climates. This is not a problem however and if you stay in such a climate then I would recommend you set up the bales earlier and soak with water only, to allow for a slower decomposition process. Fertilizing should be done after this period, following the procedures as described above.