When it comes to choosing the right covering for your polytunnel or ‘hoop house’ there are a number of choices you can make, very much depending on what you are growing and where in the world you stay. Perhaps you stay in the cold northern hemisphere and so would like a polythene barrier that can withstand the weather and give maximum insulation.
Conversely, you maybe want your polythene covering to give you maximum shade as you live in a hot sunny climate. The good news is that there are a variety of coverings (not just polythene) designed to suit just about every need.
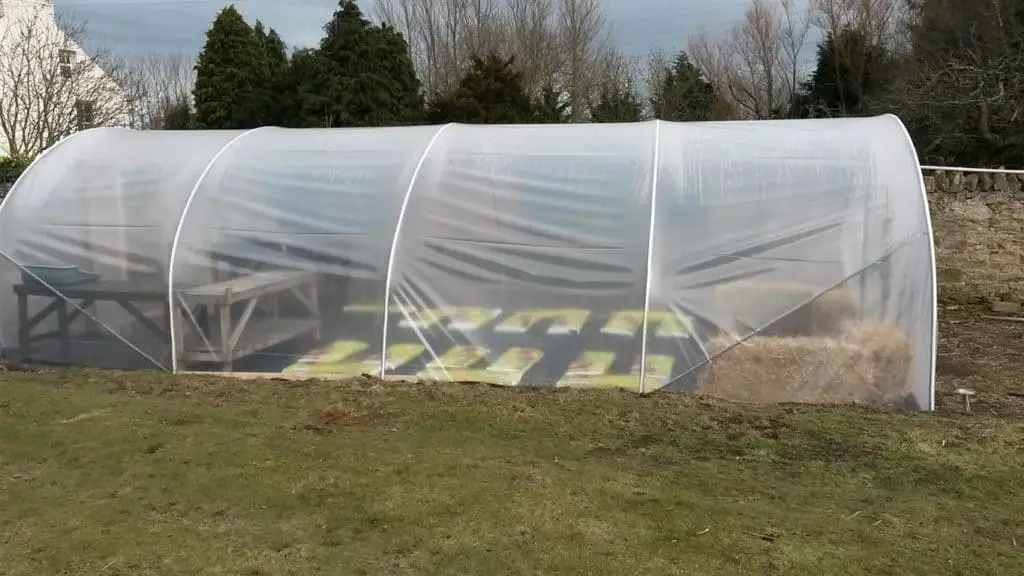
- Conventional Uv protected polythene for the standard polytunnel
- Thermal anti-drip polythene – a favourite amongst colder climate users
- Black, white or green polythene for gardeners needing shade & protection from the elements
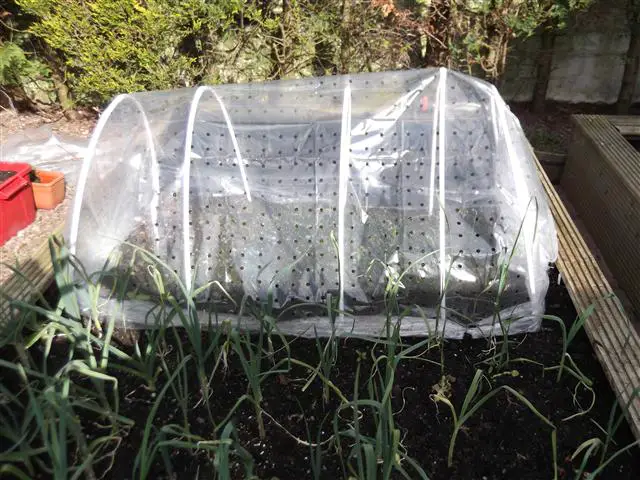
- Perforated polythene sheeting for maximum airflow – used mainly on cloches
- Netting cover for those who just want protection from flying pests
How thick should polythene be for a polytunnel?
Polythene covering thickness is measured by microns or gauge. So for instance a common cover thickness should be 720 gauge or 180 micron – this is probably the most common thickness for a polythene covering that will give approximately 5 years of use.
Of course there are other thickness available including 200 micron which is mostly used for industrial or commercial applications. The average user may find that the 200 gauge cover is a little harder to stretch out over the frame just owing to the fact that it is thicker polythene.
For a mini hoop-house or a cloche, then a 480 gauge or 120 micron thickness will give you a good strong covering. I have used builders polythene at 400 microns that has worked just fine and will still give several years of use.
Is thermal polythene a better choice for a polytunnel
I have used both thermal and normal polythene for tunnels in the past and I have to say that I prefer the thermal overall. It’s not so much the heat retention but rather the non-drip qualities that I like about it. Apart from the inconvenience of water dripping on your head constantly if the conditions are right, the overly humid atmosphere can result in mould or fungus growth on the plants.
Although you will still get some condensation dripping – even from the thermal cover – it is reduced considerably, and for just a small difference in the cost I would say its worth it for me.
Netting over a hoop house

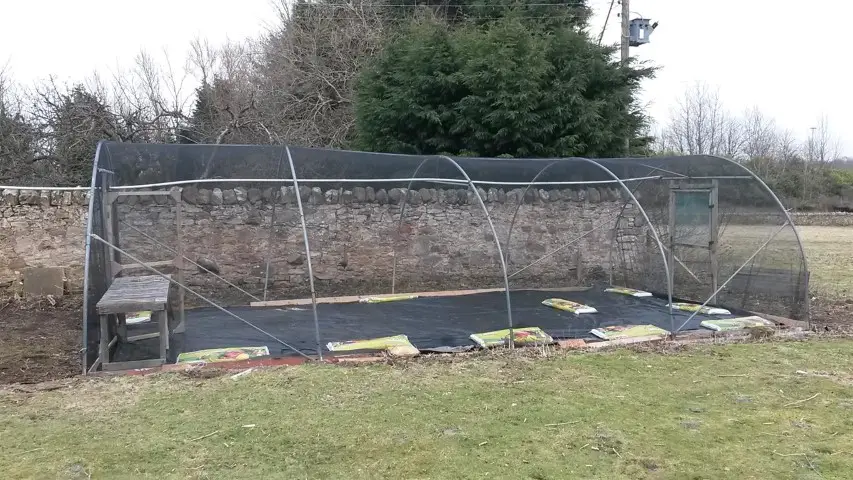
The idea of using netting over a hoop house or polytunnel is alien to many, as this structure is generally used for its greenhouse capabilities. However if you are troubled with the cabbage butterfly in particular, the netted hoop house can be a real bonus.
It simply means that you can plant your cabbages or other brassicas within a fully protected environment that still allows you to walk freely amongst them without hindrance – if you are using a full sized tunnel like the one in the picture for instance.
Even with a cloche arrangement though, the netting is a no-brainer for keeping the cabbage moth at bay.
As for fixing the netting to the tunnel, this is very simply done using cable ties at random intervals along the pipework. Alternatively just use garden string to tie the netting on.
Colored polythene for polytunnels
Polythene comes in several colors for a polytunnel but green, white, and black are the most popular. Green is often used where shade is important, but where it will not restrict plant growth.
White is usually used where the hoop house may in fact be covering chickens or other animals. It allows enough light to penetrate but not a large build-up of heat. Black is generally used to block light for the growing of mushroom crops and where it is important to block light for other applications such as silage making.
Ventilated polythene sheeting for a hoop house

This is another good option if you do not need heat or insulation so much – perhaps you stay in a warmer climate – the perforated holes allow for free passage of air whilst the covering will protect against the wind and bird predation.
Heat build-up is not so severe in a polytunnel with perforated polythene, and also condensation is not a problem in most instances, with the exception perhaps in the cold period of early dawn.
Fixing polythene to a hoop house
There are two main way to fix the polythene covering to a High Tunnel. You can either use the trench method where a trench is dug out the length of the tunnel about 12-24 inches deep. The polythene is pressed down into the trench and covered over with soil to hold it all down and keep the tunnels firmly fixed in place.
The second way is the Rail method whare a rail is fixed along the length either at ground level or higher. The polythene is then fixed directly to the rail. This is the easiest method as it does not require the hard labour to dig the trench. However the
See the chart below for an approximate indication of just how much covering you may need depending on the method chosen. If you have a fixed rail at a higher than ground level then just deduct the approximate hight from the base rail measurement.
| POLYTUNNEL WIDTH | AROUND HOOP | TRENCH STYLE WIDTH | BASE – RAIL WIDTH |
| 10 FEET – 3.04 MTRS | 20 FEET – 6.09 MTRS | 24F -7.3M | 22F – 6.7M |
| 12 FEET – 3.65 MTRS | 22 FEET – 6.70 MTRS | 26F -7.92M | 24F – 7.31M |
| 14 FEET – 4.26 MTRS | 24 FEET – 7.31 MTRS | 28F -8.53M | 26F – 7.92M |
| 18 FEET – 5.48 MTRS | 30 FEET – 9.14 MTRS | 34F -10.36M | 34F – 10.36M |
| 24 FEET – 7.31 MTRS | 38 FEET – 11.58 MTRS | 38F -11.58M | 42F – 12.80M |
The shorter width of the material needed for the base rail type hoop house, takes into account the fact that it is not getting buried into the ground. This means that it only needs around 60cm or 2 feet longer than the measurement around the hoop – enough to secure the material to the base rail with a good allowance for the fold.
For the length, allow 2 meters or 6.6 feet on each end for the folding or creating doors at the end of the tunnel.
If in doubt always allow for extra material as it can only be cut once!


