For the straw bale garden enthusiast growing vegetables like sugar snap peas or runner beans is a basic must-do when it comes to planting out straw bales.
High in nutrients and antioxidants, Peas and Beans are often seen as essentials in the opinion of vegetable gardeners, partly because they are comparatively easy to grow and can be dried and stored away for many months.
This ability to dry and store, also makes the humble legume a favourite for the off-grid enthusiast or for anyone who simply loves home-grown food and hates waste!
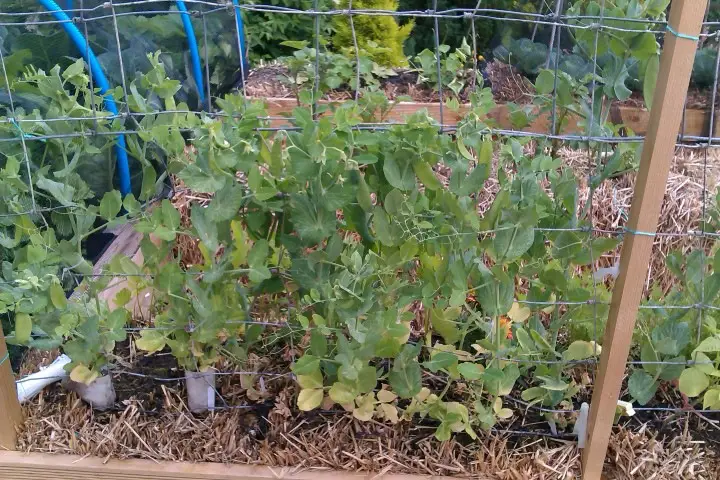
Growing peas in a straw bale garden means that quite apart from conditioning the bales themselves (more on this later), the bale has to be slightly adapted in order to support the legumes themselves.
Fortunately this is easy to do with a simple frame structure as you will see in the image on this page.
Both peas and beans can be grown up through a wire mesh system or even a cheap plastic netting, however beans support themselves by winding around a cane as they head upwards and so you might just consider supporting beans with canes.
Peas on the other hand like the popular sugar-snap peas, let out little tendrils that wrap around whatever support they can find and so netting does very well with climbing peas.
This is the case with vine varieties. If you choose to grow dwarf bush peas or beans then a simple support like a center cane would do just fine as the plant will only grow to 18 inches or so high.
Conditioning the straw bale
Before planting anything in a straw bale you have to prime or condition the bale. The simple reason for this is that nothing will grow in straw – without a helping hand.
Straw is basically an inert material (carbon only) with no nutritional value for plant or beast! This is why straw (not hay) is used primarily for bedding in the farmyard, and mulching in the garden.
Thankfully the process of conditioning the bale is simple enough, but takes around 2-3 weeks.
- Locate the position of your bales and layout the area with cardboard or garden weed fabric before placing the bales in position. Make sure the bale is on edge with the folded straw on the bottom side.
- Cover the bale with a good nitrogen-rich plant food. Lawn fertilizer is best for this but make sure it does not have weed or moss killer included!
- Soak the bales completely until you see the water running away from the bottom. This will take around 6-8 gallons per bale.
- Repeat this process every second day for the first week, then twice during the second week. After this period wait a week or so as the internal part of the bale cools down.
- Prepare your bale for planting according to your choice of vegetables – for this article it is peas and beans of course!
That is the basic steps to condition your straw bale ready for planting. I have a more detailed post here conditioning a straw bale where you will find more of the minutia and the reasons why the bale needs this treatment in order for your plants to grow.
Planting out peas and beans in a straw bale garden

Unless you are growing the dwarf or bush varieties, your legumes will need supporting.
There are many ways to do this, however my favourite way is to simply drive in a couple of posts and erect a section of 4 inch mesh between them.
This is the kind of mesh that sheep farmers use, and I like it because it is rigid enough to support your peas or beans when staked out. Also the way it is made means that the beans have an ideal vertical runner every 4 inches to grow straight up!
The addition of a little cheap garden netting allows the peas to get plenty of grip and support for the pods.
Once you have the mesh in place along the back of the bales, dig out a hole in the bales about 4 inches deep 3 inches diameter, and fill with a good compost/soil mix. These holes should line up with the vertical wire strands of the mesh and be 2-3 inches away from the back of the bale.
Poke a hole in with your finger about 1 inch deep and plant your peas or bean seeds direct into the bale. Alternatively you can of course plant your seedlings that you may have been growing whilst the bale was in the conditioning period.
More plants to grow in straw bales
There are of course many other plants you can grow in straw bales, each plant or vegetable needing a slightly different way or preparation before actually planting in the straw.
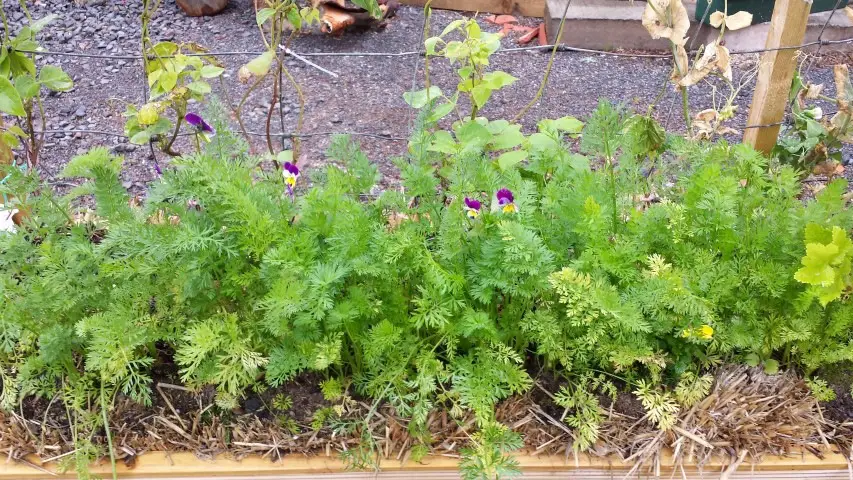
- Tap root vegetables such as carrots or parsnips need to be grown by creating a trench along the length of the bale and filling this trench with soil/compost mix.
- Vegetables like onions or garlic are grown by covering the bale with 2 inches of good soil mix and planting the onion sets direct into the soil.
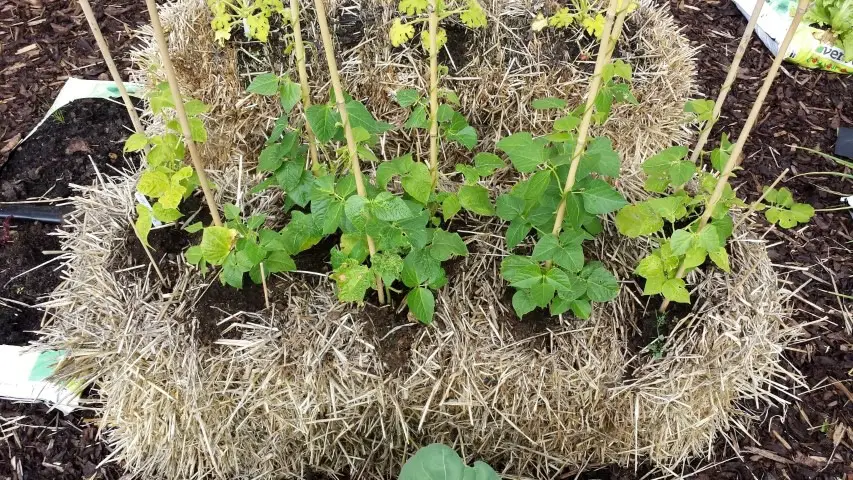
- Climbing plants like peas, beans, vine tomatoes, cucumber etc, need support as previously mentioned. They are planted by digging out a good-sized hole in the bale about 6 inches deep and 5-6 inches wide, then filling with soil mix as above.
- Plants like dwarf beans, peppers sweet and hot, courgette, squash, eggplant, cabbage, kohlrabi, cauliflower, all need holes cut out in the straw, filled with soil and planted direct into this.
Top tip – when filling in the holes in the straw bales, do this with your fingers and make sure the soil is well shoved down into the straw. Your plants will needs this good start in life as the nutritional value of the bales come into play later on with the composting process begun with the nitrogen feed.
Feeding the plants in the straw bales
In theory at least the plants should not need fertilizer during the growing period as the straw bales itself decomposes and gives up its nutrients.
I have to say though that in practice I find that an ongoing feed program is best to ensure that the plants prosper as they should.
For the plant feed itself I use a home-made plant ‘tea’ feed from Russian comfrey plants that I have grown specifically for creating plant food that is rich in nitrogen, phosphates, potash and several other nutrients that vegetable and fruit plants like tomatoes love!
To make this tea is simplicity itself. Just get a good sized drum and throw in a few armfuls of comfrey. Fill with water and give it at least 3 weeks or so to ‘brew’.
Add a couple of inches to the bottom of your watering can and apply to your veggies once or twice per week. More on diy plant food here.
Summary:
As you can see growing peas, beans and many other vegetables in straw bales can be a rewarding and interesting exercise.
Growing vegetables in straw bales is another excellent no-dig gardening method that is especially exciting if your ground conditions are poor – and it’s something to get the friends and family talking about!
GROWING VEGETABLES IN STRAW BOOK
Recent Posts
Raised Bed Hugelkultur: The Smarter Way to Fill Raised Beds Without Spending a Fortune
If you've priced up enough compost to fill a new raised bed recently, you'll know one thing... It isn't cheap. Many gardeners are surprised to discover that filling a 2-foot-deep raised bed can...
What is a Hugelkultur Bed? A Hugelkultur bed is a raised garden bed built from rotting logs, branches, grass clippings, leaves, and soil. As the wood decomposes, it stores moisture, improves soil...