The construction of a timber raised bed is fairly simple and straight forward. First of all, level and mark out the area where you would like your raised bed to be. Bear in mind that it should not be under overhanging trees, and in an area where you can have easy access for tending your plants.
It should get a minimum of 6 – 8 hours sunshine per day to produce best results for most vegetables.
For a 6 x 3 x 1.5 foot bed built using traditional decking timber, you will need:
6 lengths decking @ 6’ x 6” x 1”
6 lengths decking @ 2’10” x 6” x 1”
10 – 3” x 2” pointed posts @ 30”
Weed control fabric
Galvanized screws or nails
Wire mesh (optional)
Preparation steps for building a raised bed garden
- Choose & Prepare your area if you are using a bed that is fixed in place
- Gather all the materials you need in one place.
- Assemble according to the plans below
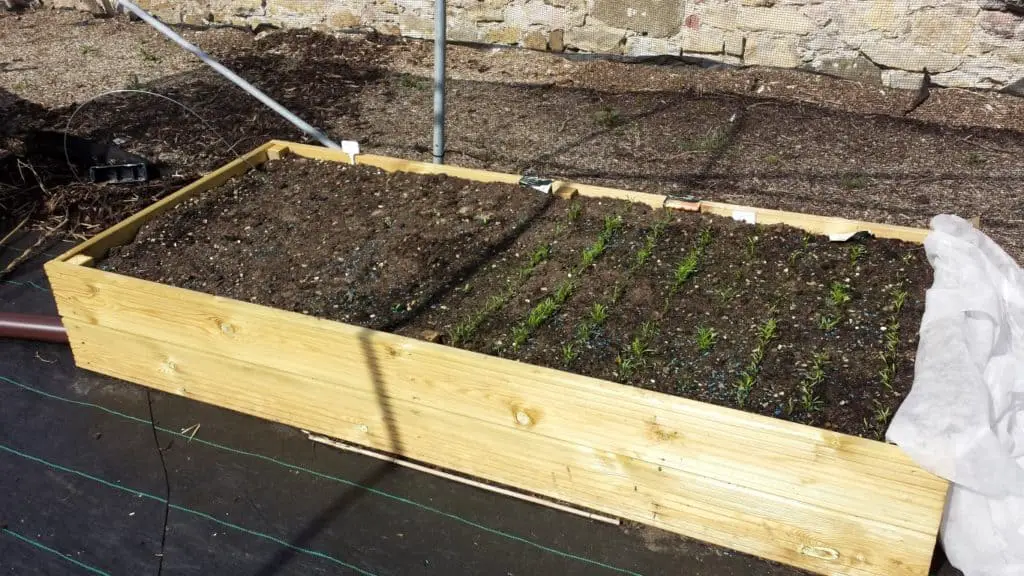
- Fill up your raised bed with compost/topsoil soil mix
Begin by marking out with string and pegs, the area of your raised bed, putting down a peg on each corner. This is where you should consider whether or not you are going to dig out any of the existing ground.
Questions to ask yourself are, what depth of compost do I need, versus what height do I want the finished bed to be. If you are growing root vegetables that need depth, but you do not want the finished height to be over 1 foot for instance, then digging out the area to the depth required is your only option.
keep in mind that the larger and deeper the Raised Bed then the more infill you will need – and it can be quite costly unless you follow this method of filling a raised bed on the cheap.
Once this decision is made, then we can proceed with building the raised bed. Once you have the pegs in the area that marks out the four corners of your raised bed, you simply take out one peg at a time and replace by hammering down your pointed posts, leaving them a minimum of 18 inches above the ground.
Alternatively, if you make these posts longer then you can use them as handy aids for lifting yourself up when tending your vegetables – just a matter of choice really.
The best way to do this is to put down one post at the end, then temporarily fix the first short end against the post. With this done, then hammer in the second post flush with the end of the 6” x 2” decking plank. Proceed with the two longer sides, then complete the other end. If you just put one screw partially home, then you can easily adjust to suit.

Be sure that you have leveled the timber and that you have left a minimum 12” in height above the first planks, so you are able to complete the job.
I find that it is better to construct with a cordless screwdriver as this does not impact the framework in the same way that hammer and nails does. Also should you make a slight error, then it is no trouble to take apart for adjustment.
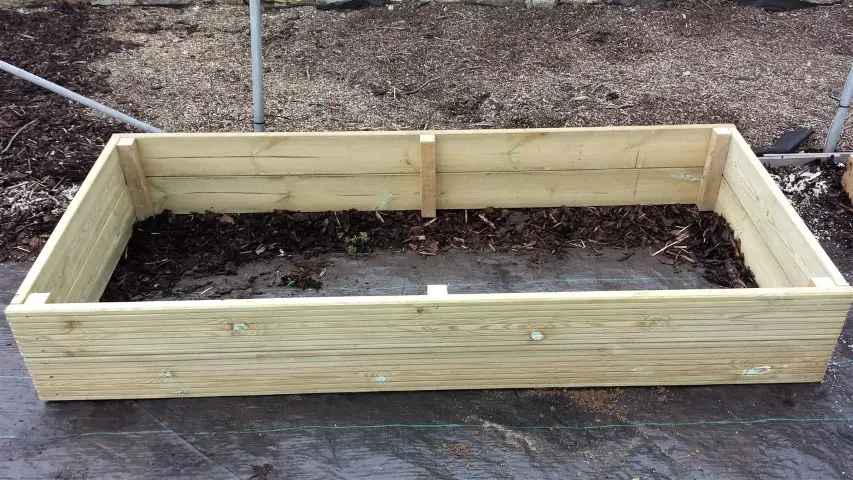
Once this is done then simply mark out along the inside length two feet from each end, then making sure the construction is straight, hammer in two of the posts to the same height as the others. On the end of the construction, do the same with one post in the centre of the framework.
This will give you a strong sturdy construction, which you will need if you do not want the sides of your raised deck to bow under the pressure of the soil.

Recent Posts
Raised Bed Hugelkultur: The Smarter Way to Fill Raised Beds Without Spending a Fortune
If you've priced up enough compost to fill a new raised bed recently, you'll know one thing... It isn't cheap. Many gardeners are surprised to discover that filling a 2-foot-deep raised bed can...
What is a Hugelkultur Bed? A Hugelkultur bed is a raised garden bed built from rotting logs, branches, grass clippings, leaves, and soil. As the wood decomposes, it stores moisture, improves soil...