There are many vegetables and indeed fruit plants that can be successfully grown in straw bales, but potatoes must rank as one of the simplest and most rewarding of vegetables to grow in straw.
Straw bale gardening has captured the imagination of many, as the prospect of growing food in a barren environment such as dried straw seems like an impossibility – or indeed the kind of challenge that many vegetable gardeners thrive on!
Of course growing any vegetable in a barren straw bale is not such a simple matter, and some basic steps have to be taken in order to avoid frustration and disappointment.
- First of all choose the site for the Straw Bales
- Prepare and condition your bale following the guidelines
- Choose the type of potato you wish to plant (1st early, early, or main crop)
- Plant your potatoes, add water, and watch them grow!
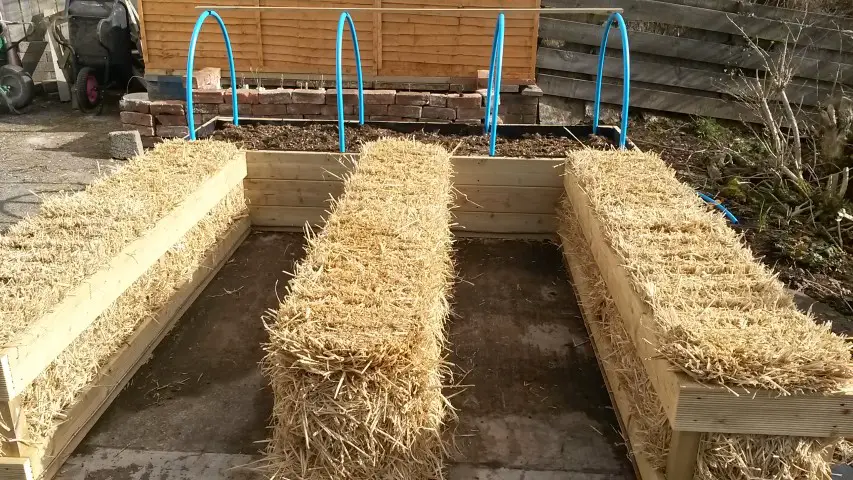
Choosing a position for your straw bales
Choose a position that will get plenty of sunshine – at least 6 hours daily – but not in such a hot location that your bales will quickly dry out.
Potato tubers suck up a lot of water so a dry bale will lead to very small potatoes – or none at all.
Do not position your bales under trees or other overhanging plants as this can lead to disease or insect infestation. This advice is basically the same for growing most types of vegetables in the garden.
Preparing a straw bale
This is a process known as conditioning or priming, and is an essential part of growing in straw bales as they otherwise have no nutrients in them to feed the plants.
This process is more fully explained in this article, but basically it involves adding a strong nitrogen fertilizer mixed with water to the straw bale every 2-3 days.
This sets in place a heating process as the microbes feed on the nitrogen and break down the straw in preparation to receive the plants themselves about 3-4 weeks later.
However, when growing potatoes in straw bales I have a much simpler process, and it involves using last years bales which by the second year have broken down considerably.
There are 2 main reasons for using last years bales (if you have them of course).
- When harvesting your potatoes the bale has to be destroyed. This is good for the compost heap, but bad because you only get 1 years harvest from your bales – which can be good for up to 3 years if you do it right.
- By the second year the internals of the bale have been significantly broken down which means the potato tubers have more freedom to grow and expand. Also the nutrient levels are high as the composting process inside the bale is well underway, and with just a little additional feeding the potatoes are assured of a good start to life!
Choosing Potatoes for straw bale gardens
This is a fairly simple matter, and only depends on which potatoes you like to eat and the time of year you wish to start growing them.
Potatoes basically come in 3 types, 1st earlies, earlies like ‘Yukon Gold‘, and main crop. You may well choose to plant a 1st early potato such as the redskin ‘Colorado rose’ or the ‘Red Gold’ however you have to consider this if you plant 1st earlies – when you harvest them the bale is destroyed and destined for the compost heap as mentioned earlier.
Perhaps consider a second option? Choose a main crop variety (choose what traditionally grows well in your region). This means that you may have a chance to grow some early vegetables such as radish or lettuce, which can be harvested before you plant your main crop potatoes.
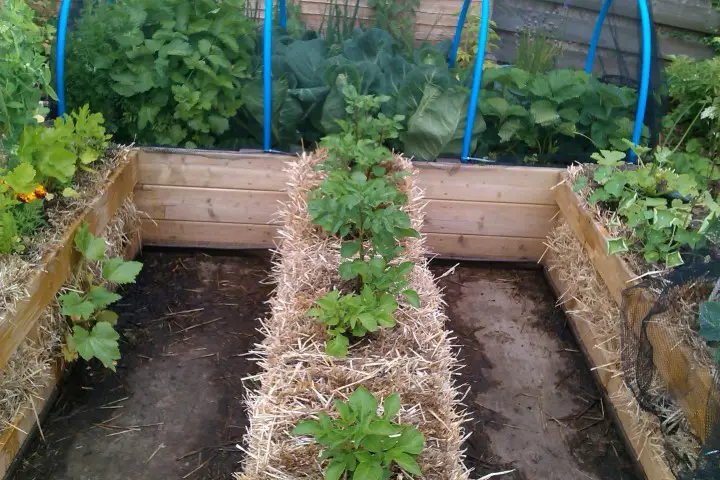
Planting potatoes in straw bales
Planting potatoes in straw bales requires a slightly different process than when growing potatoes in a barrel or straight into the ground. Normally a potato needs ‘chitting’ before it is planted. But this is not essential with straw bale gardening.
What is Chitting? (more on chitting in this article) This simply means setting the seed potatoes aside in a dark place and allowing them to sprout a little before planting.
The problem with this process is that in order to plant your potato in a straw bale, you are in danger of breaking away the new shoot or growth.
To plant potatoes in straw bales means that after you have gone through the conditioning process (or not if you are using an old bale), you have to sink the tuber deep into the bale.
This is done by creating a wide enough hole in the top of the bale with a pointed stick and pushing the tuber down about 10 inches. Bear in mind that an average straw bale is about 18 inches deep when it is placed in position.
If the tuber has a long shoot on it then it is likely to be broken in the process of pushing it down – so this must be done carefully!
If perhaps you have been caught out and the shoots are longer than you feel comfortable with, try using a hollow pipe to push the tuber down without damaging the shoot.
To do this just gently take to potato in one hand and work the shoot up inside the tube, then carefully place the potato at the top of the hole and ease down with the tube. Then pull out the tube and your shoot should remain undamaged.
Once this process of planting is done then fill in the hole with a good compost mix, water thoroughly and watch you plant grow!
Note: Before planting your potato choose just 1 or 2 shoots to remain and nip away the rest to avoid over depletion of the seed potato and give you better results overall.
Harvesting straw bale potatoes.

This hardly needs explained at all, however here we go – just cut the strings around the bales and the potatoes will spill out in front of you!
Here you will notice one of the great advantages of growing potatoes in straw bales, is that there are no garden forks involved so no damage to the tubers at all.
The potatoes come out clean and blemish free, no mucky hands to deal with – that’s why kids love helping you harvest potatoes like this, it’s like digging for treasure for kids – and for us adults!
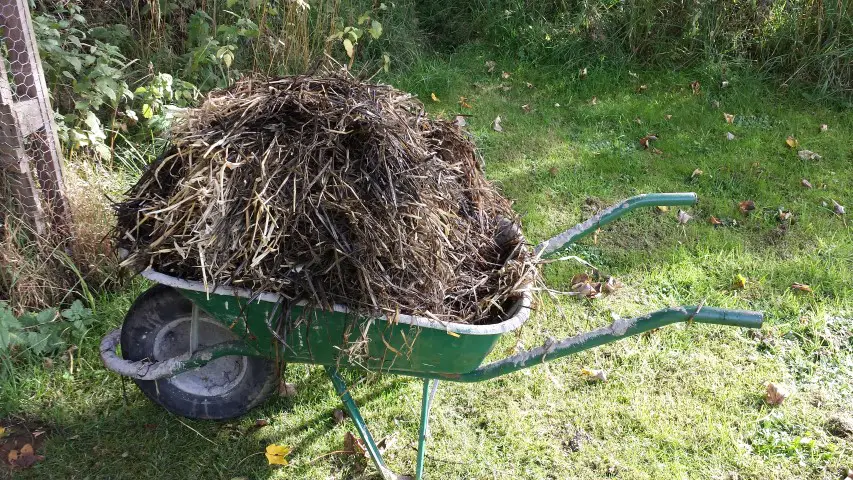
As an added bonus inherent in all straw bale gardening methods, the depleted bales make excellent addition to the compost heap or as filling for a deep raised bed, as the straw is partially broken down and will add valuable ‘brown’ material as well as some nutrients to your compost.
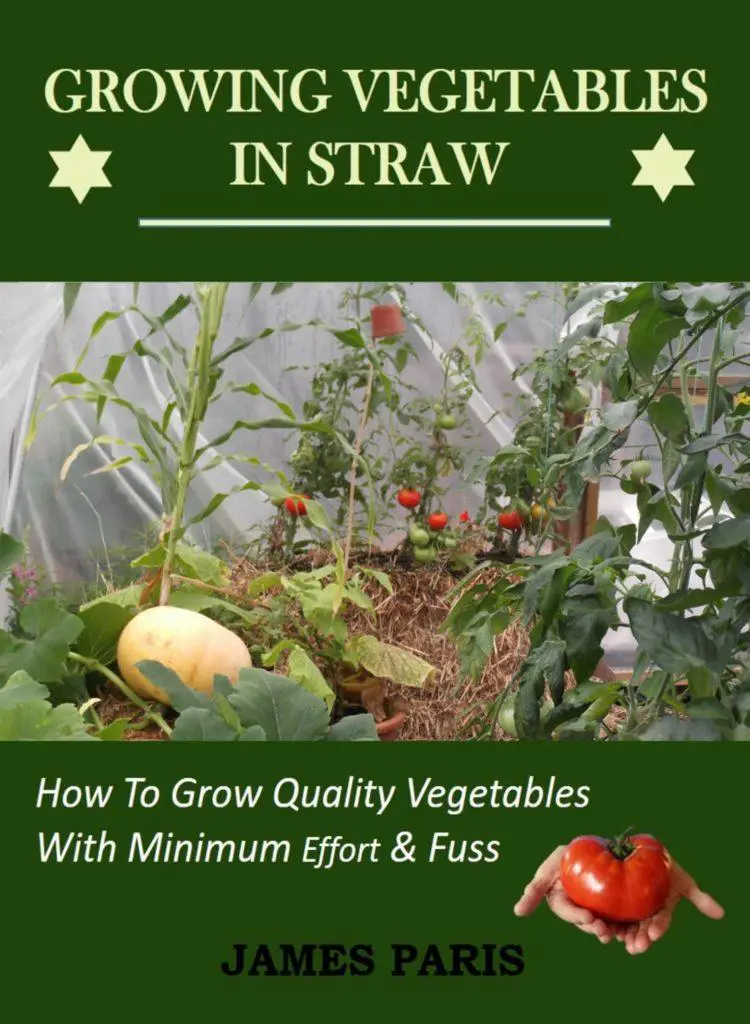
CHECK OUT OUR BOOK ON STRAW BALE GARDENING
 |  |  |  |
Chosen for You: Growing Onions In Straw Bales
Recent Posts
Growing potatoes under a layer of straw or indeed a straw mulch, is just 1 example of no-dig vegetable gardening that inspires and encourages gardeners to think ‘outside the box’ and try...
Growing potatoes in a home-made planter Here is just a quick post to emphasize just how simple it is to get the maximum benefit out of a few seed potatoes, using a 'trench' method to maximise the...