If you either have or are putting up a polytunnel, then the chances that you will be doing repairs to it are high indeed. However this is not something to be alarmed about as general repairs are fairly easy with sticky tape and maybe some spare polythene.
The repair I was forced with though was of a somewhat different nature as a storm ripped through my polytunnel over the winter, and simply had to have the cover replaced before it was any use at all.
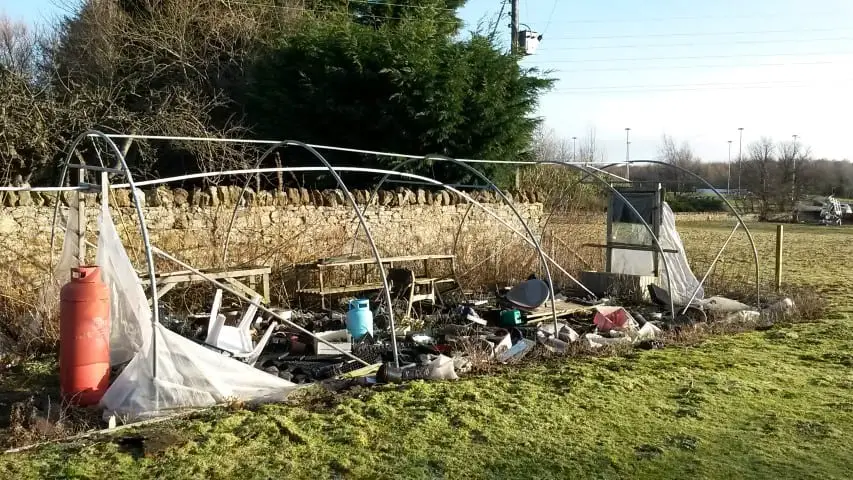
To be honest it was in a slightly neglected state anyhow, and the storm just gave me the ‘kick up the rear’ that I needed to get it sorted out!
This particular tunnel is the trench type tunnel. This means that the cover is held down in a trench that runs alongside the structure.
How to fit a new cover over a Polytunnel
The procedure to replace the old cover with a new one is simple enough, but it is best if you can get a helping hand from at least one other person.
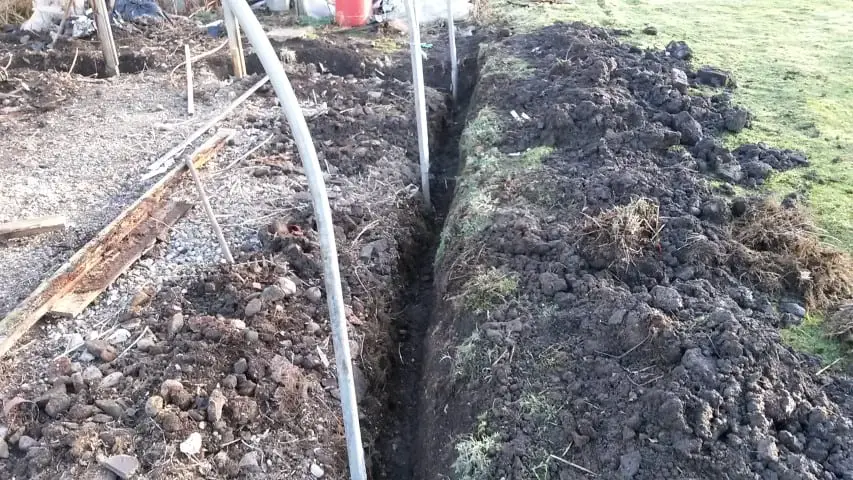
- Dig a trench about 12-18 inches deep right around the structure. Removing the old cover as you go.
- Clean the metal loops and replace the foam tape around on the outside edge so the new cover does not make contact with the metal frame.
- Once the old material and soil is removed from the trench, start by laying the polythene down in the trench along one side – just enough to reach the bottom of the trench with a turn.
- Stretch out the polythene from each end so there are no wrinkles, and pour some soil down into the trench to hold the cover in place.
- Pull the cover over the top of the hoops and down into the opposite trench, pulling from each side as you go to remove wrinkles from the cover. Push the cover down into the trench with your feet (being careful not to damage the polythene) to tighten over the hoops and pour down some soil to hold.
- Repeat the procedure of pulling and tugging the cover to remove wrinkles along the length and fill in the trench with the rest of the soil.
- At the ends, fold and attach to the door frame or pull straight down into the trench and fill with soil.
In the image below the trench has been filled in and we are adding the finishing touches to the cover.
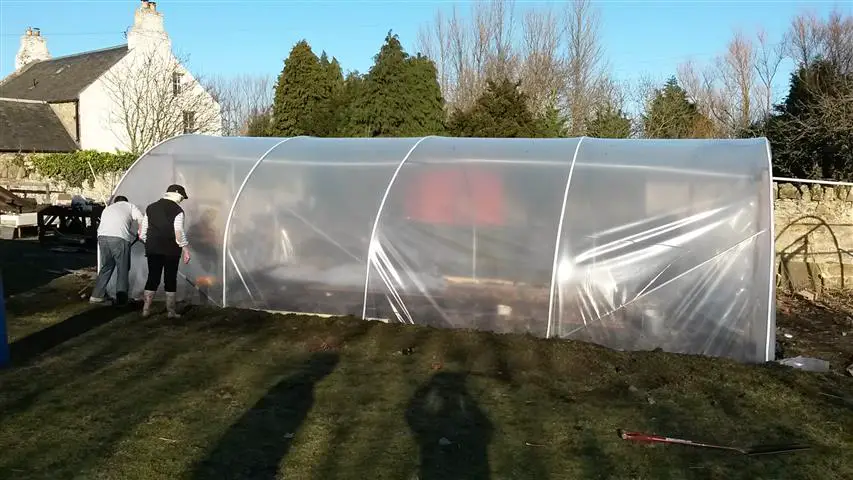
With this cover I managed with just the help of my sister, and this was a 30 foot tunnel – which is probably as long as you would want to attempt without more help.
The process of tightening the polytunnel over a long length really requires mechanical assistance if you are to get the tension right.
Fitting and adjusting door frames in particular can take a bit of practice to get right, especially in the longer tunnels as the weight and resistance of the cover becomes a bit of an issue.

The hardest part physically speaking when replacing a cover is the digging out of the old trench. You might think it would be easier as it has been done before? However you may find that the old polythene in the trench makes it difficult to dig up and can be a real pain!
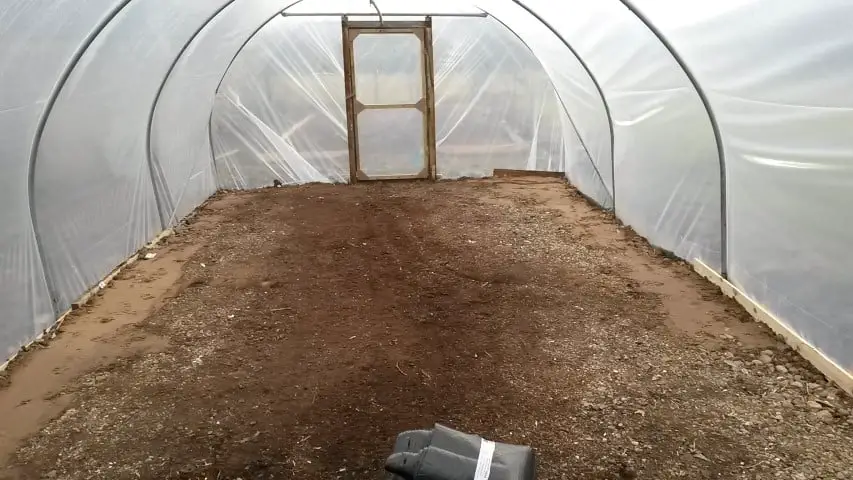
That said, the whole thing was done in just a day, including levelling out and finishing the inside surface, so all in all a very worthwhile and satisfying achievement.
Now all that remains to be done is to make some tables and raised beds to grow gigantomo tomatoes and cucumber plants!
