There is little doubt about it, the coming of the Spring growing season is the highlight of any gardeners life -and something that is anticipated with great relish!
The cold dark winter nights are finally coming to an end, and the first signs of Springtime brings a flush of anticipation to animal and vegetable alike, as preparations are made to ‘be fruitful and multiply and replenish the earth…’.
Ok, so that’s quite enough of the romantic rhetoric! Now in a real sense, there are tasks to get on with if we are to be properly prepared for the coming growing season.
Here are some jobs to consider – in no particular order – to ensure a great harvest this spring…
1. Check the Polytunnel for damage:
Depending on where you live, your ‘hoophouse’ can sustain storm damage over the winter months. This could be from strong winds, to heavy snow laying on the tunnel and stretching – even collapsing – the polythene covering or framework.
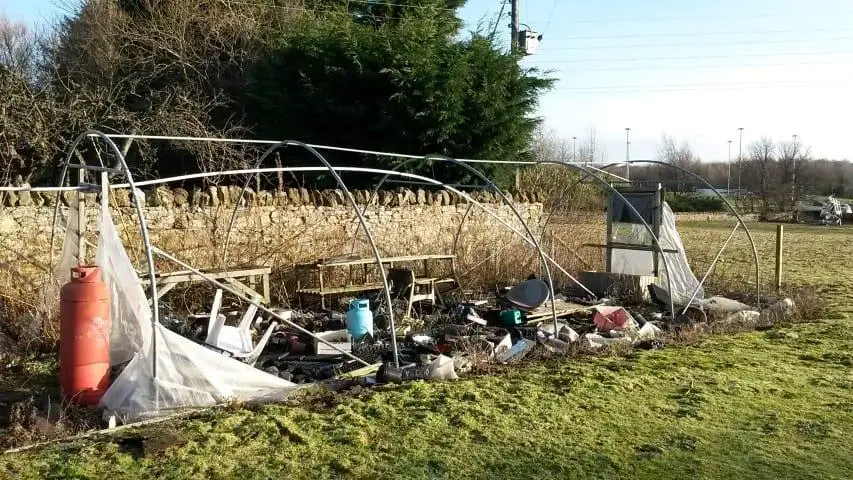
Damaged or twisted frame-work can often be easily fixed by pulling back into the straight position again. This is best achieved by one person at each side of the loop pulling in opposite directions until the loop is even again, provided the damage is not too great. If so then a call to the manufacturer for new hoops may be needed.
Tears in the polythene can usually be simply repaired by using special polytunnel repair tape. This is strong, easy to apply and waterproof.
How old is your polytunnel? The lifetime of polythene coverings vary, but anything over 5 years is most probably near or at the end of life stage. Replacement may be the only option if so.
2. Time for a clean up!
Polytunnels just like greenhouses, do tend to get covered in a thin film of green algae over time. This is especially the case if they are placed near or under overhanging tree canopy (not a good idea!).
Whilst there are lots of specialist detergent cleaners available for this task. I find that a simple solution of washing-up liquid in some warm water will do the trick.
Start by soaking the plastic covering with a garden hose, then lightly wash over the tunnel with a soft brush or sponge soaked in the soapy water. Rinse clear with the garden hose.
Inside the tunnel most probably will take the biggest effort – especially if you have completely neglected it after the end of the last growing season – tut tut!
Now is the time to clear out all the old plastic pots that are never going to be used again, along with all the old compost bags and other detritus than seems to gather ‘as if by magic’ under potting benches and in corners.
Remove also any old plant cuttings or other organic material that may well harbour insects or fungal spores, before sweeping it all clean and then spraying with a horticultural disinfectant.
Likewise your old seed trays. Pay particular attention to cleaning with disinfectant when you have finished as they can carry all manner of fungus and insect disease if left untreated.
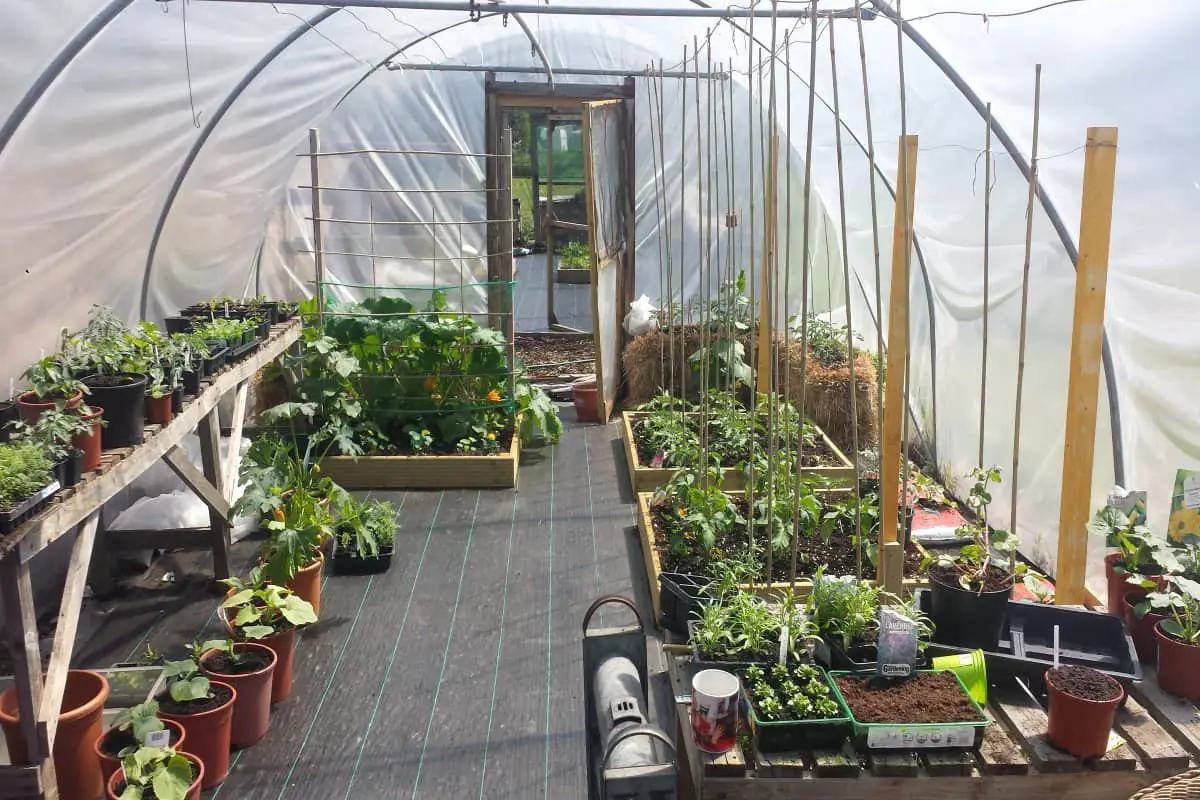
3. Prepare your growing beds:
Whether you are simply growing straight into the ground, or using timber or metal raised beds (my preference), then it is time to get the soil ready for your chosen plants.
This is usually a case of replenishing the growing bed with compost, topsoil, and/or fertiliser to ensure adequate nutrition.
Dig over the area to loosen up the soil, then dig-in the required soil amendment.
You may well find that the soil – especially in the case of raised beds – has completely dried out over the winter. In this case just be sure to water deeply and leave to soak before planting out your plants.
4. Prep your Garden tools:
Get out the garden tools and make sure they are all clean and in working order – of course, you will have already cleaned your tools at the end of the last season right?...
If not…now is the time to get on with it and oil up the secateurs and pruning shears. Clean the old detritus from your garden spades and forks – and tip out that wheelbarrow you left filled with rubbish last winter 😊
5. Choosing your plants:
If you have not already been pouring over your planting options during these dark winter nights – what’s the matter with you!
Joking apart. Choosing the proper plants to begin your Spring season is of the utmost importance. Take advantage of the fact that with a Polytunnel you are ‘well ahead of the pack’ inasmuch as you can begin your season at least 6 weeks ahead of anybody in your area planting in the ‘Great Outdoors’.
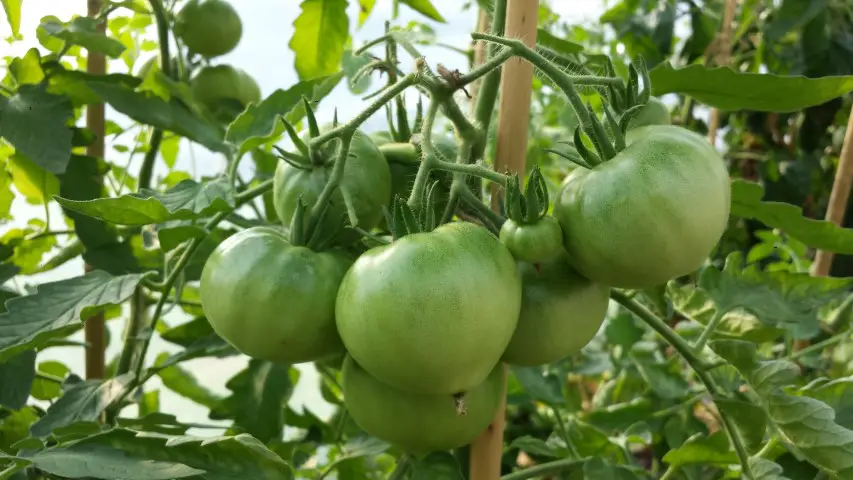
This means that very early in the season you can begin by planting out quick-growing vegetables such as radish, kohlrabi, and salad leaves – whilst in the meantime begin growing your tomatoes and other main-crop seedlings ready to take their place in due course.
A ’top tip’ here is to only grow vegetables that you enjoy eating! It’s too easy to get ‘carried away’ and plant a whole lot of stuff that will just get wasted when they are fully grown.
The exception to this rule is when you are doing a swap or barter system with another gardener – this is indeed an excellent idea and has many social as well as practical benefits.
There are many reasons why I like Polytunnels or ‘hoophouses’ to grow my vegetables.
Why I like Polytunnels
- Planting Options. The main one being that in colder Northern climates where Tomatoes will not grow very well – a Polytunnel is a fantastic option.
- Extended Growing Season. As mention earlier – the growing season can be extended significantly, even by as much as 8-10 weeks in most cases.
- Cheaper Alternative. Yet another great reason for growing in Polytunnels is that they are a LOT cheaper than a tradition glass covered greenhouse, and easier to maintain.
I will concede however that a traditional glass-covered greenhouse will last a lot longer than a Polytunnel overall, most of the time!
Growing straight to ground or Raised bed?
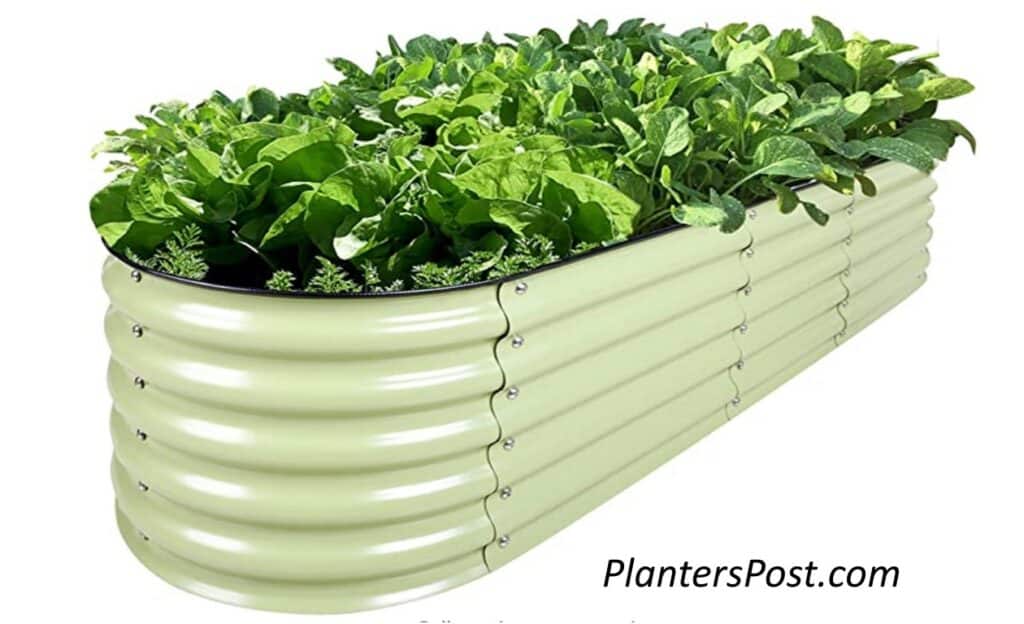
As you can see from the pics, I am very much in favour of growing in Raised Beds. These can be metal or timber depending on your taste or budget really.
The reason I prefer this method is simply that they are easier to maintain. Neater overall. And raised bed soil is quicker to warm up at the beginning of the season, and warmer nearing the colder autumn months – again giving me a head start at the beginning of the season especially.
So there it is. Now all the talking has been done – time to get into that Polytunnel and prepare for the Spring Season!
Recent Posts
Raised Bed Hugelkultur: The Smarter Way to Fill Raised Beds Without Spending a Fortune
If you've priced up enough compost to fill a new raised bed recently, you'll know one thing... It isn't cheap. Many gardeners are surprised to discover that filling a 2-foot-deep raised bed can...
What is a Hugelkultur Bed? A Hugelkultur bed is a raised garden bed built from rotting logs, branches, grass clippings, leaves, and soil. As the wood decomposes, it stores moisture, improves soil...